Showing posts with label DIY. Show all posts

Thursday, August 22, 2013

A Star for Mario


When the Super Mario-themed shoot came up, either a star or  mushroom would be the obvious prop. This won't be difficult to find as Jotay planned to use stuff toys. However, I realized it was one of those the-things-you-crave-are-just-out-your-grasp moments.

I scoured the toy stores at SM for a yellow star or purple mushroom; only to find a red stuff star with a pair of blue eyes and a smiling mouth (My apology for the lack of image for the red star. It was saved in my phone. Right now, my laptop has trouble connecting with my phone). Considering the time limitation, I decided to improvise.

Thursday, July 25, 2013

Food for Babe's Thoughts

A year ago, Joel Locaylocay Photography invited food blogger, Justinne Go, for a portrait shoot. Justinne majors in Nutrition and Dietetics at the University of San Carlos and happened to be one of the former students of my good friend, Ising.

The shoot centered on making a head shot of Justinne, surrounded with real cupcakes and marshmallows. I was asked to make a box that would hold these pastries. The real kicker was Justinne's head would be at the center.

I found a box for a large cake at Caro and Marie at Mango Avenue. Using only the bottom, I drew an ellipse that best represents the measurements of Justinne's head, including the forehead, the nose, and jaw areas. Using a cutter, I re-traced the ellipse to make a hole. Scotch tape also kept the edges from fraying.

Where the head will be fitted

Sunday, July 14, 2013

A Wolf for Red

When Jotay asked me to make a wolf for the Red Riding Hood shoot, a lot of possibilities coursed through my mind. While scouring YouTube for inspiration, I decided to make a wolf sculpture made from papier-mache. The only drawback to that plan is the arduous task of hauling the wolf from my place to location. The stands and modifiers alone are already heavy.

We decided to use a 30 x 40 foam board instead and make a two-dimensional figure of the wolf. The strobe lights will add volume to the cutout, as the shoot was scheduled during late in the afternoon towards dusk.

I bought the last black foam board at BOSS Educational Supply at Park Mall and initiated my plans on how to make the wolf. A lot of the initial sketches were discarded as they didn't look wolf-like in the dark. As we planned to do the shoot at dusk, it is important that the shape could not be mistaken for any creatures.

Finally, I got a passable design. Jotay made a few suggestions until I sketched the right one.

Final Design of the Wolf

Monday, July 8, 2013

A Dark Crown for a Lovely Woman

My good friend, Jotay, had roped me into making props for his themed-shoots. That was almost a year ago. Now that the props are starting to accumulate in my room, I decided to share how they are made. Hopefully, someone will learn from my posts or I get constructive critiques.

I'll start on one of the recent props: the crown of the Dark Queen.


To give you a background, the shoot centered on one of our students, Amor. Jotay and she agreed to show her in a different light, something far from her usual exuberant self, thus, the Dark Queen.

Jotay asked me to make a suitable crown. I decided to make use of the teeming informations online. YouTube has been helpful. A lot of do-it-yourselfers have published their videos and with enough patience, one can get inspiration and useful ideas.

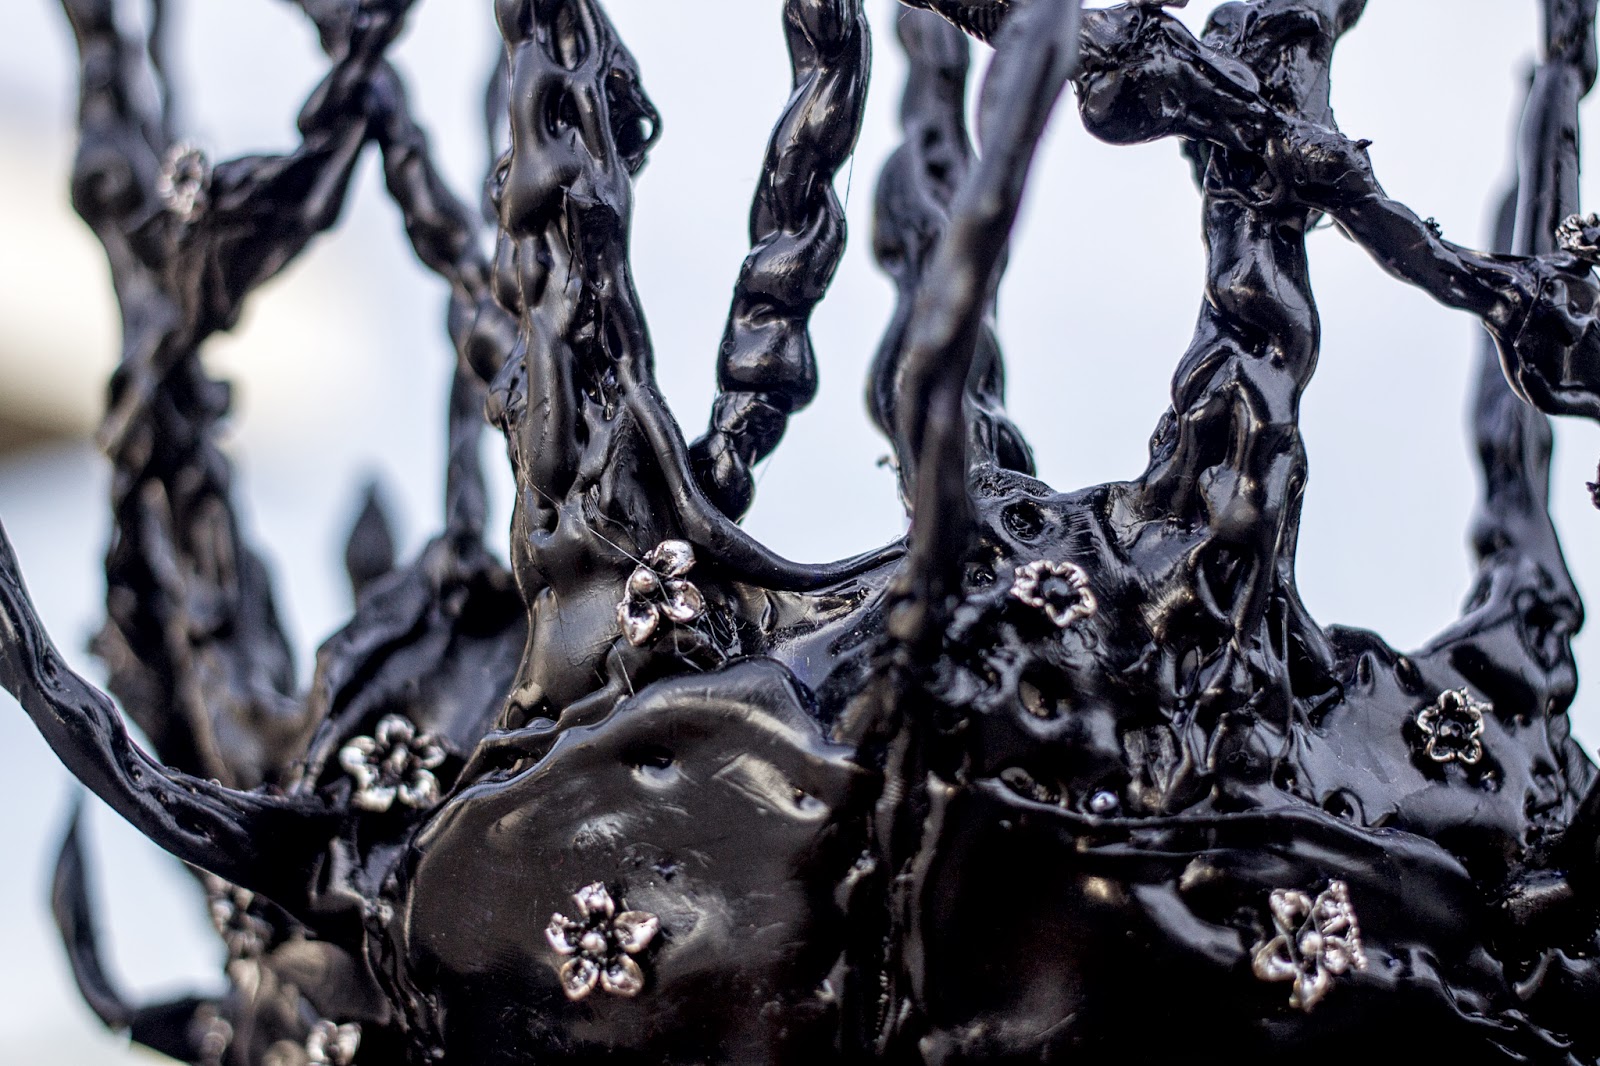
In this particular crown, I used a black headband I found lying in one of my boxes. Using floral wires, I shaped them into spikes and applied glue (via glue gun, so you have to be extra careful when trying this at home..) around them. The good thing about glue is they can be easily shaped and re-shaped, depending on your imagination and tolerance to heat. I suggest you wet your fingers with water to absorb the heat from the hot glue (but this may not be enough). A wet towel is an added precaution.


Once I have my spikes, I tied them around the headband, creating my desired design. More glue was added to serve as a base.

When the spikes were in place, I painted the whole crown with black acrylic. As a final touch, little silver flowers with black center were used as embellishment.


You can check the results of the shoot by clicking on this link  http://wp.me/p2IRxo-l2 and while you're there, don't forget to like the page. If interested for a themed shoot, you may contact Joel Locaylocay through the contact details on his page.

More to come....